How do you connect jumper cables to jump start a car?
You may have jumper cables in your car… but no idea how to use them.
So how do you safely hook those cables up to jump start a car?
Kickstart my heart
Oh, that lovely sinking feeling you get when you slip behind the wheel of your car at the end of a long day (or the beginning of one, for that matter), you turn the key, and all you get is a half-hearted “rurrr” noise — if you’re lucky enough for even that.
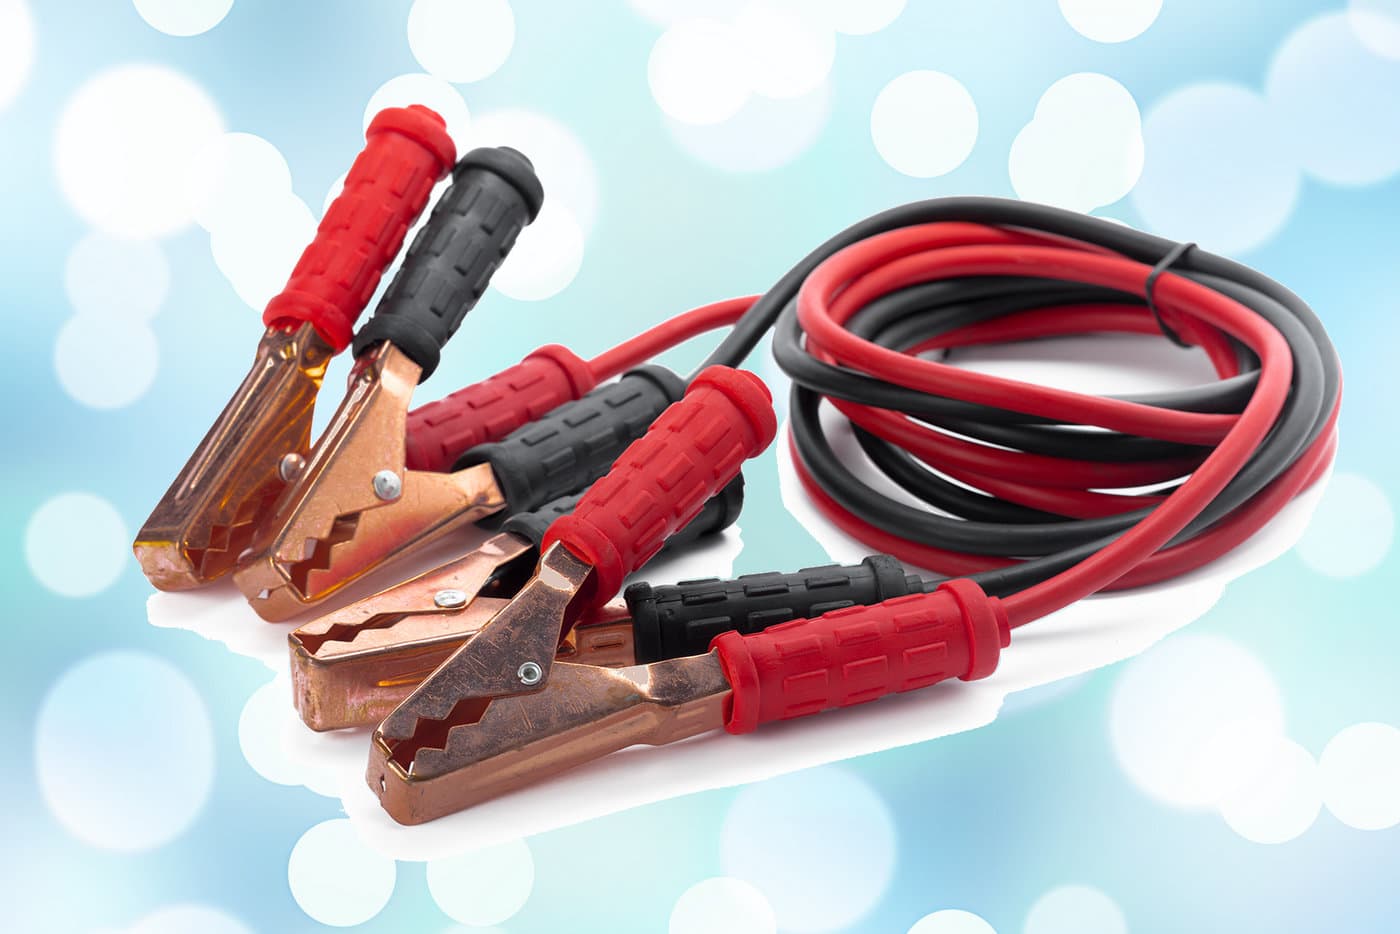
So if you already have jumper cables in the trunk, awesome. But what exactly do you do with those things?
Safety first when connecting automobile jumper cables
1. As a battery discharges, it can give off a bit of hydrogen gas. Hydrogen gas is highly flammable (ever see that film footage of the Hindenburg?) and there is a slight risk of fire or explosion when jump starting a car, especially in a confined area. It’s a very slight possibility, but it is a possibility.
2. Getting zapped by electricity hurts.
3. Hooking up the cables incorrectly can result in severe damage to both vehicles.
If any of the above makes you uncomfortable, or you don’t think you can handle it, call a tow company, AAA, or your insurance/auto manufacturer’s roadside assistance.
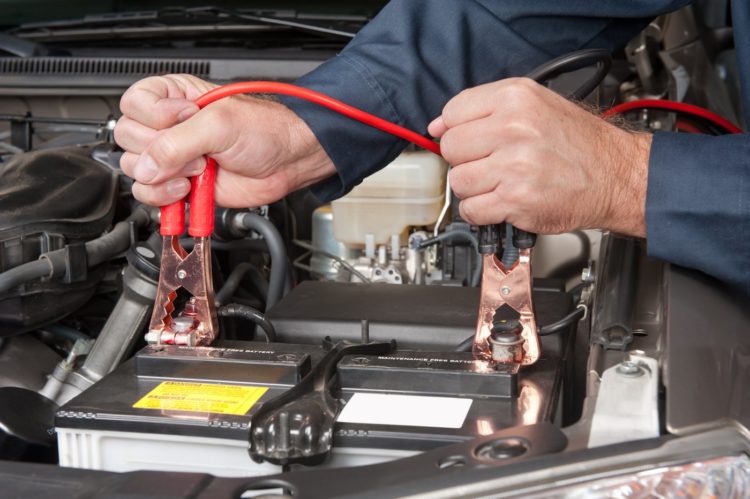
How do you connect jumper cables? Here’s a look
Please note that these are just basic guidelines. Always remember: It’s better to be safe than sorry.
These instructions assume you have jumper cables already — if not, you will need to buy or borrow some — perhaps even from the awesome person willing to give you a jump.
1. Confirm that the battery is the problem.
Does the car turn over quickly when you turn the key? Do the headlights come on nice and bright? If so, your battery isn’t the problem.
In an automatic, check to make sure the car is in Park or Neutral — it won’t start in gear. Some manuals require the clutch to be pushed in to start. Eliminate the other stuff first. If you think it’s the battery, move on to step 2.
2. Find the battery on both cars.
This should be pretty easy. Most cars have the battery under the hood. A few (BMW, for one) put them in the trunk. If you still can’t find it, check the owner’s manual.
3. Identify the positive and negative terminals on both batteries.
The positive should either be marked with red, have a plus sign (+) on it, or both. The negative terminal will be marked with black, a minus sign (-), or both. This is important.
4. Get the batteries near each other.
Park the working car in such a way that you can easily reach from one battery to the other with the cables you have. Do not remove either battery from either car.
5. Get the jumper cables out and inspect them.
Untangle the things, make sure there’s no breaks, cuts, or frays, and that the clamps are clearly differentiated from each other — there should be one red and one black per end.
6. Connect the jumper cables in the following manner.
It’s really, really important you pay attention here.
Do this with both cars turned off.
A. Connect one red clamp to the positive terminal (+) of the dead battery.
B. Connect the other red clamp to the positive terminal (+) of the good battery.
C. Connect one black clamp to the negative terminal (-) of the good battery.
D. Connect the other black clamp to a piece of grounded metal on the dead car. What does this mean? Look for a bit of non-shiny (unpolished), unpainted/unvarnished metal. Usually, you can use a large exposed nut or bolt, or you can find a spot directly on the engine to which you can clamp.
When you make this last connection, it’s common to see a small spark — don’t panic.
As an absolute last resort, you can use the negative terminal (-) of the dead battery, but this increases the risk of hydrogen fire or explosion.
Make sure that, at no point after you have one clamp connected, that any of the clamps come in contact with each other. The sparks look cool, but again — you don’t want to cause explosions or fires.
7. Make sure the cables are clear of moving parts.
Take a look and make sure the cables will not become snagged or caught in any fans, belts, or any other moving bits under the hood. Get as much of the cable out of the engine bay as possible.
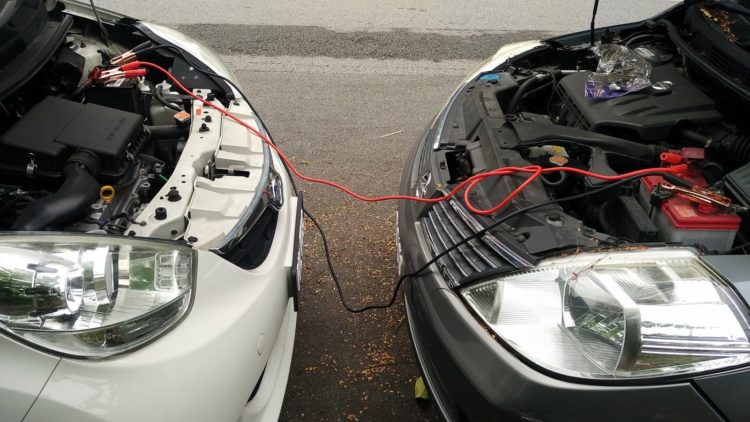
8. Start the working car.
Let it run for 3 to 5 minutes. You don’t have to rev the engine up high or anything, but do give it a little gas (if you have a tachometer, 2000-2500RPM is a good target) for 30 to 60 seconds. This is done to charge the battery in the dead car.
You don’t want it to try and draw all the power it needs to start (over 100 amps) through the cables — that would melt them. And that would be bad.
9. Try to start the dead car.
If it doesn’t start right away, don’t keep cranking away. Turn the key back off. Shut off the working car for a minute and double-check your connections, then try step 7 again. If the car starts, awesome. If it doesn’t, you’ve got a bigger problem and will need a tow.
10. Disconnect the jumper cables once you’ve got the dead car started.
This is done in the reverse order of how you hooked them up. For clarity’s sake, I’ll go ahead and write it out anyway:
A. Disconnect the black clamp from the grounded metal bit on the (formerly) dead car.
B. Disconnect the black clamp from the negative terminal (-) of the good battery.
C. Disconnect the red clamp from the positive terminal (+) of the good battery.
D. Disconnect the red clamp from the positive terminal (+) of the (formerly) dead battery.
Again, make sure the clamps do not come in contact with each other until they are all safely disconnected, and make sure the cables do not get caught in any fans or belts on the engines.
10. Make sure to keep the jumped car running.
Keep the engine on for at least 20 minutes after the jump start to recharge the battery, to give the car enough juice to start again. If you do this, and the car fails to start later, the battery has either gone bad, or there is a problem with the vehicle’s charging system.
Additional thoughts
After you’ve had your car jump started, it’s a good idea to have your battery tested. Sometimes running it completely down can damage the it and cause it to not hold a charge. Pretty much any auto parts store will test your existing battery for free and let you know if it’s okay or not.
Furthermore, if there was no clear reason for your battery to be dead (headlights left on, etc), it’s not a bad idea to have your charging system (alternator, etc) tested as well — this may be the reason your power cell was flat in the first place.
Extreme heat, cold, and old age are also common causes of car batteries going bad. For best results, change — or at least test — yours every 3 to 4 years to prevent being stranded due to a bad battery.
Step by step video: How to connect jumper cables
https://youtu.be/aOMqz11FjA4

